Welding productivity becomes easier to measure when two metrics are tracked together: effective welding time and achieved welding speed. Effective welding time is the percentage of available production time during which the arc is active. Achieved welding speed measures the accepted weld length completed during that active welding time.
Together, these metrics provide a clearer view of welding productivity, capacity, and the process losses affecting delivery performance.
For operations leaders, this information turns a hard to define bottleneck into something measurable.
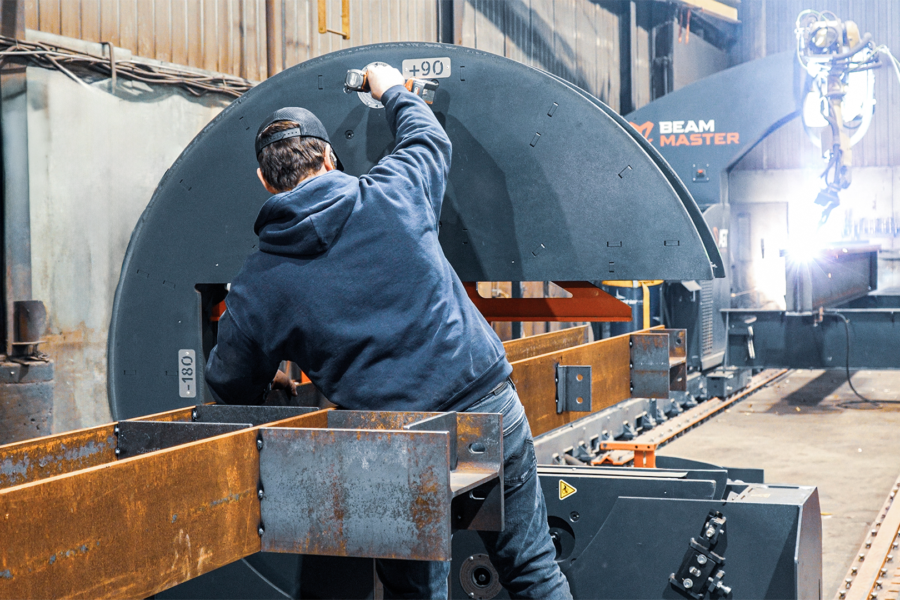
The two metrics behind welding productivity
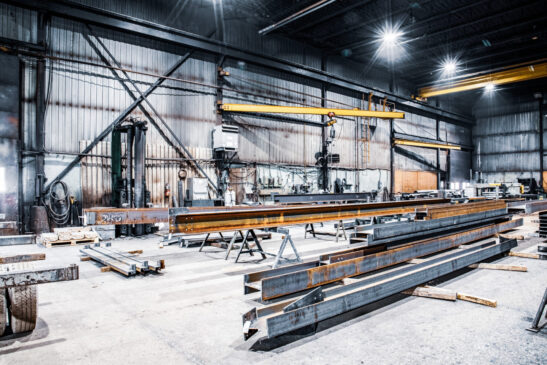
Most lost time happens away from the welding torch: positioning the part, turning it, adjusting parameters, preparing the next joint, or waiting for the overhead crane. A skilled welder can be fast at the torch and still spend most of the shift not welding.
This changes the way we think about productivity. The most effective way to increase output is to give welding time back to the process by reducing everything that takes time away from it.
Effective welding time is a more reliable measure of welding productivity. It counts only the time during which the arc is active, excluding preparation, positioning, adjustments, and interruptions.
Combined with achieved welding speed, measured in inches per minute, it gives a more accurate picture of production.
- Effective welding time shows how much of the shift is spent welding.
- Achieved welding speed shows how much accepted weld is completed during that active welding time.
Quality data provides an essential third check. Track accepted weld length, rework, and repair rates alongside speed so that higher output does not hide quality losses. Together, these metrics reveal where actual performance lies and where losses occur.
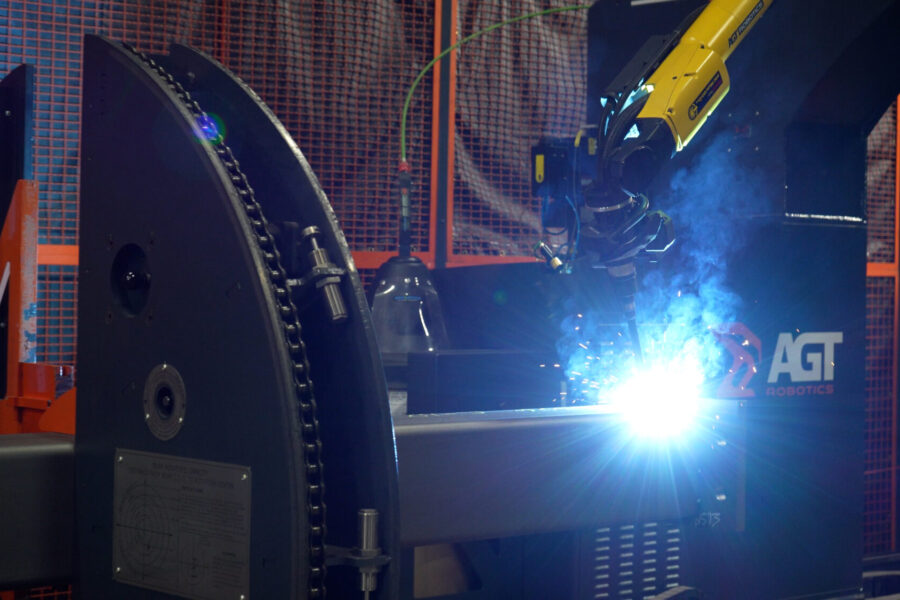
How to measure effective welding time in your production
The measurement can be simple or advanced, depending on the maturity of the operation.
Start by defining available production time consistently. This should normally include scheduled production time and exclude planned breaks, meetings, and known non-production shutdowns. Use the same definition each shift so results remain comparable.
The calculation is straightforward:
- Effective welding time (%) = (Total arc-on time ÷ Total available production time) × 100.
- Achieved welding speed = Total accepted weld length ÷ Total arc-on time
For example, if your arc-on time is one hour during an eight-hour shift, your effective welding time is around 12.5%. That number tells you how much of the shift was spent welding, but not how much weld you actually laid down in that hour.
If you also know that you completed 600 inches in that hour, you can see that your welding speed was 10 inches per minute. Together, these two figures help you spot where your bottleneck might be.
Achieved welding speed should be measured during arc-on time rather than across the full shift. This value shifts with part geometry, joint accessibility, weld size, number of passes, and the amount of rework.
A process can have a strong achieved welding speed while losing significant time between welds. A different process may keep the arc active for longer but require additional passes, rework, or slower travel speeds.
The goal is to understand the whole picture.
Direct observation involves timing actual cycles during a representative shift. It is easy to implement, but it only captures part of the overall production picture and is subject to human error. To get a useful result, capture enough work to reflect the usual mix of beams, connections, and interruptions.
Automated monitoring can integrate with welding power sources to record arc-on time, downtime, and, when configured, the interruption causes. Dashboards provide ongoing visibility into performance. The value comes from reviewing the data consistently and separating process losses from planned breaks and other non-production time.
The most useful data separates planned non-production time from process losses. Where possible, classify losses by cause: positioning, loading and unloading, crane waiting, fit-up correction, parameter adjustments, rework, and maintenance. This makes it clearer where to improve next.

Manual and Robotic Welding in practice
The following comparison is an illustrative example for repetitive structural steel work. It is not a universal benchmark. Results vary according to the production mix, weld requirements, material preparation, available handling equipment, and the operating range of the system.
For a 1/4 inch fillet weld, an experienced welder achieves around 1.5 to 2 inches per minute of actual welding output and has 12% effective welding time. A well-structured robotic system achieves around 9 to 11 inches per minute and 65% effective welding time.
Across an eight-hour shift, 12% effective welding time provides 0.96 hour of arc-on time. At 1.5 to 2 inches per minute, that produces about 86 to 115 inches of weld.
With 65% effective welding time, the robotic system has 5.2 hours of arc-on time, roughly five times more arc-on time per shift. At 9 to 11 inches per minute, it produces about 2,808 to 3,432 inches of weld.
In practice, this amounts to approximately 31 times more welded per shift.
Actual results should be validated against the shop’s own work mix and quality requirements before they are used for forecasting.

Why does effective welding time change the way we look at welding
Measuring effective welding time turns assumptions into data. Instead of estimates, the operation gains objective indicators showing where time is actually spent.
The direct impact is felt in four areas:
- More accurate production planning;
- Better estimates of lead times and costs;
- Identification of the real bottlenecks;
- Reduced variation between shifts and operators.
For those managing the operation, the most valuable benefit is predictability. Stable arc-on time, measured alongside achieved welding speed, makes output easier to plan. Delays and unusual production losses become easier to spot, and delivery dates become commitments the team can meet.
From a business perspective, the message is equally clear. Every gain in active arc time can increase output, as long as achieved welding speed is maintained. That lowers conversion cost per foot and helps protect project margins.
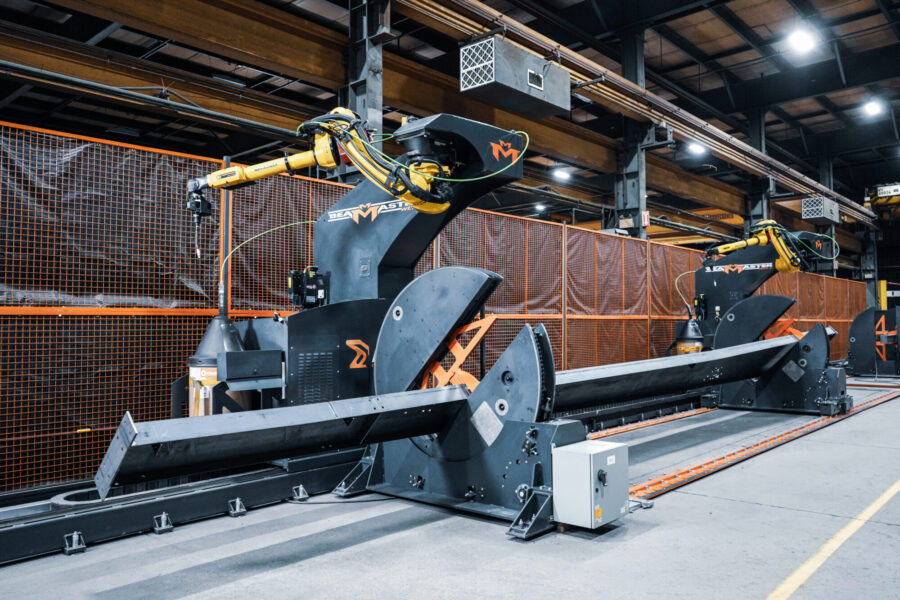
How BeamMaster supports welding productivity
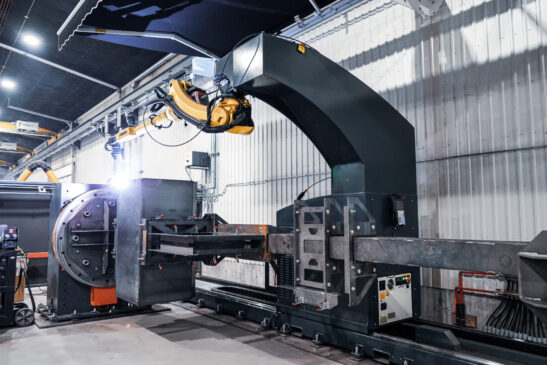
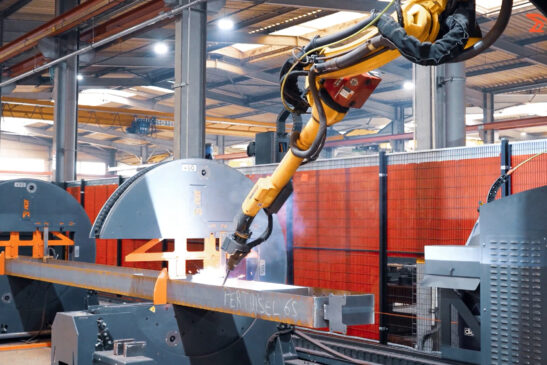
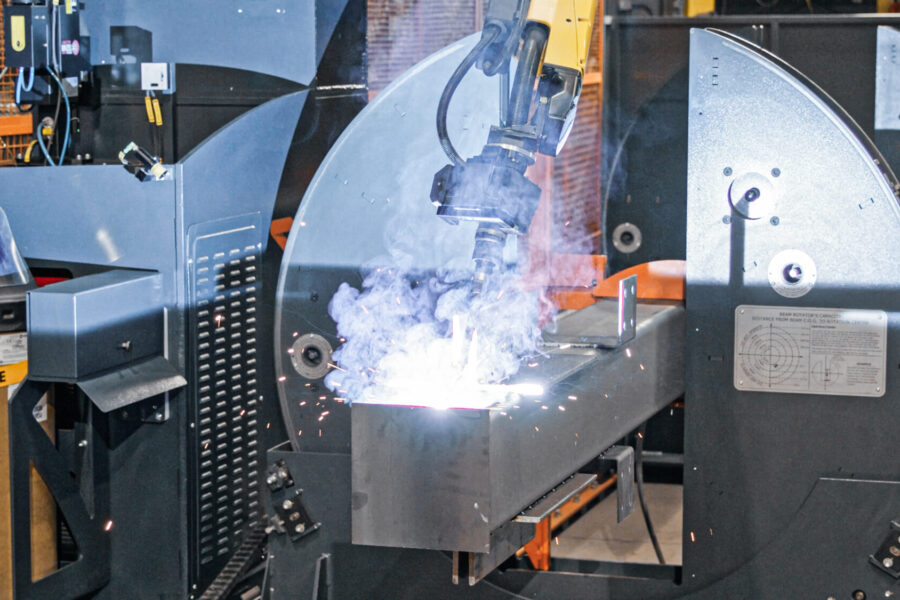
The BeamMaster, developed by AGT, addresses several common sources of lost time in the welding cycle. Using CAD-to-Weld software, controlled positioning, and continuous weld execution, it can reduce manual intervention and increase the proportion of the cycle spent welding.
With this system, we get:
- Higher effective welding time and more consistent cycles;
- Less downtime from repeated positioning and manual handling;
- Less rework when parts and fit-up fall within the defined operating range;
- More feet welded per shift with less dependence on additional welding labour;
- Greater predictability in production and delivery schedules.
Technology supports the team by reducing repetitive tasks. Welders can apply their experience where it makes the greatest difference, on critical joints and decisions that require judgement.
Repeatability can support quality. Controlled welding parameters can reduce rejections and make it easier to maintain compliance with applicable standards, such as AWS, EN, or AISC, when qualified procedures and quality controls are in place.
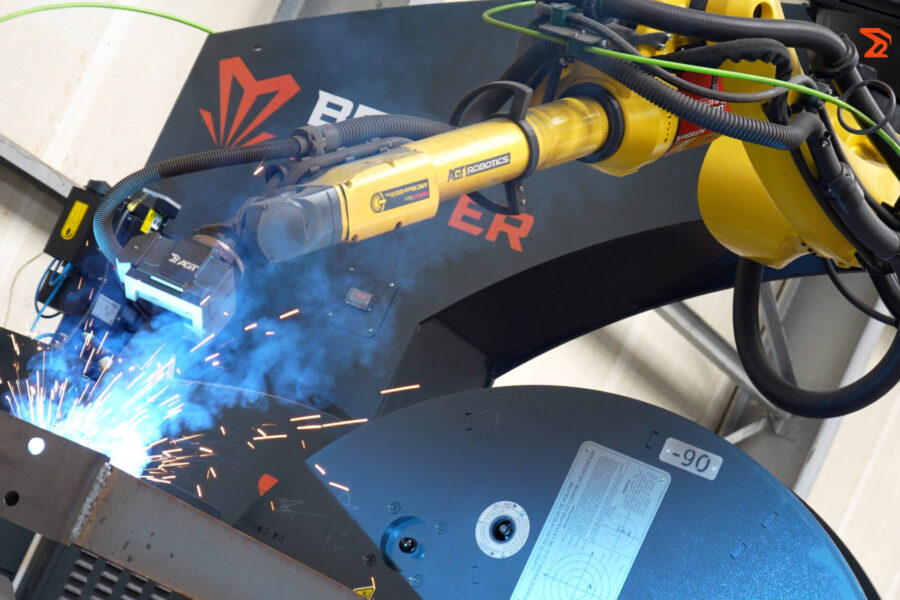
A real-life example
ETS Bobet, a French family-owned company, has built structural steel frameworks for more than twenty years, serving agricultural and industrial customers. As the order book grew, the company faced a shortage of skilled welders and the physical strain of manual welding through the summer heat. They added a BeamMaster system to protect output without depending on hires it could not find.
The clearest measure came from a single structural column. Welded by hand, that column took two welders about two hours. With the BeamMaster, the same column is completed in about 50 minutes, a 58% reduction in welding time.
ETS Bobet reported that production output rose by about 35%, with more consistent quality and less rework. Stable cycles let the company commit to weekly contracts it could not take on before. The robot handles long, repetitive welds, while welders concentrate on complex assemblies where their experience matters most.
With the system in place, the company is now planning a second shift.
Measuring effective welding time is a competitive advantage
Welding productivity should be the decision-making tool. It makes productive time visible and helps identify waste, evaluate automation, and build processes that are more predictable and scalable.
In an industry where lead times, margins, and production capacity are critical, accurate measurement helps identify the areas where improvement will have the greatest operational value.
The question becomes: where is welding time being lost, and what can the team control?
Start with a representative shift:
- Define available production time.
- Measure arc-on time.
- Record accepted weld length by joint type.
- Track rework and the causes of downtime.
- Compare the results across a representative mix of work.
This gives you a clearer basis for evaluating where automation can make sense for your business.
Book a call with our team and we will help you to go through this process.
Latest AGT News
Stay informed with our in-depth articles on the latest innovations and developments in the world of robotics and automation.